

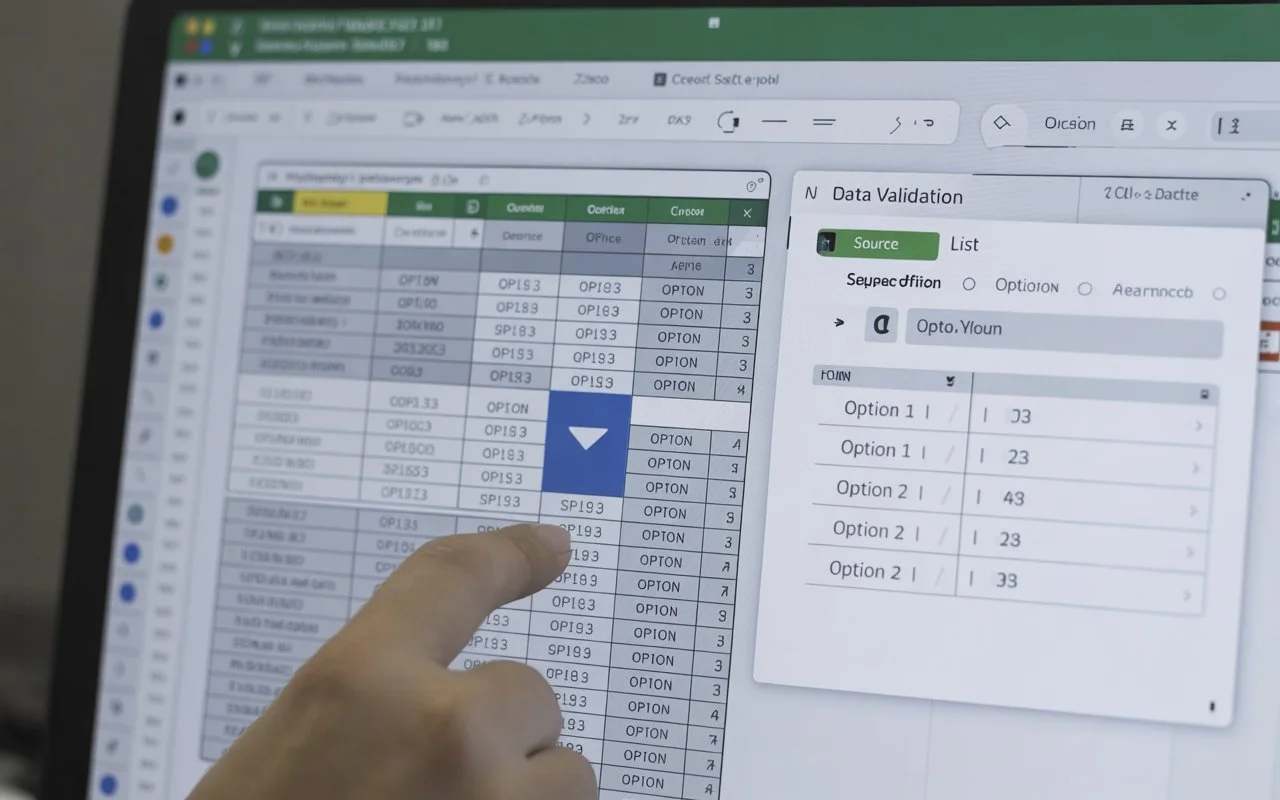

How to Create Drop Down List in Excel
Microsoft Excel is like a digital toolbox. The more tools you learn, the easier your work becomes. One of the most useful features in Excel is the drop down list. It may look simple, but it can save time, reduce mistakes, and make spreadsheets much more organized.
Have you ever typed the same words repeatedly in Excel? Maybe “Yes,” “No,” “Pending,” or a list of departments? A drop down menu can help you choose options with a single click instead of typing every time.
In this guide, you’ll learn how to create drop down list in Excel step by step. Whether you’re a student, office worker, small business owner, or just someone trying to stay organized, this article will walk you through everything in plain and simple language.

What Is a Drop Down List in Excel?
A drop down list in Excel is a feature that allows users to select a value from a predefined menu instead of typing manually.
Think of it like ordering food from a restaurant menu. Instead of cooking everything yourself, you simply choose from available options. That’s exactly what a drop down list does inside a spreadsheet.
For example, you can create a list containing:
- Approved
- Rejected
- Pending
Instead of typing these words again and again, users can simply click the arrow and select one option.
This improves accuracy and keeps data consistent.
Why Drop Down Lists Matter
You might wonder, “Why not just type the information manually?”
Here’s why drop down menus are extremely useful:
They Reduce Errors
Typing mistakes are common. Someone may type “Pendng” instead of “Pending.” A drop down list removes this issue.
They Save Time
Selecting from a list is faster than typing.
They Keep Data Organized
Consistent entries make sorting and filtering easier.
They Improve Team Collaboration
When multiple people work on the same spreadsheet, standardized input keeps everything neat and professional.
Things You Need Before Creating a List
Before starting, make sure you have:
- Microsoft Excel installed
- A basic spreadsheet ready
- A list of items you want in the menu
Your list can include anything such as:
- Employee names
- Product categories
- Countries
- Status updates
- Payment methods
You can either type the list directly or place it in another area of the worksheet.
How to Create a Simple Drop Down List
Now let’s create your first drop down list step by step.
Step 1: Open Excel
Launch Excel and open your spreadsheet.
Step 2: Select the Cell
Click the cell where you want the drop down menu to appear.
Step 3: Go to the Data Tab
At the top of Excel, click the Data tab.
Step 4: Click Data Validation
Inside the ribbon, find and click Data Validation.
A new dialog box will appear.
Step 5: Choose List
Under the “Allow” section, select List.
Step 6: Enter Your Options
In the “Source” field, type your items separated by commas.
Example:
Approved,Pending,Rejected
Step 7: Click OK
Press OK, and your drop down list is ready.
Now when you click the cell, a small arrow appears. Clicking it will show your menu items.
Creating a Drop Down List from Another Sheet
Sometimes your options are too long to type manually. In that case, it’s better to store them in another worksheet.
Why Use Another Sheet?
This keeps your spreadsheet cleaner and easier to manage.
Step-by-Step Process
- Open a new worksheet
- Type your list vertically
- Select the list items
- Go to the Name Box
- Give the range a name
- Return to your main sheet
- Open Data Validation
- Choose List
- Type:
=YourRangeName
- Click OK
Now your drop down menu pulls data directly from the other sheet.
Using Named Ranges for Better Organization
Named ranges are like shortcuts in Excel. Instead of remembering cell numbers, you can use meaningful names.
For example:
Instead of:
=A1
You can use:
=DepartmentList
Benefits of Named Ranges
- Easier management
- Cleaner formulas
- Better readability
- Faster updates
To create a named range:
- Highlight your list
- Click the Name Box near the formula bar
- Enter a name
- Press Enter
That’s it.
How to Create Dynamic Drop Down Lists
A dynamic drop down list automatically updates when new items are added.
Imagine adding a new employee to a staff list and seeing it instantly appear in the menu without changing settings manually. Pretty useful, right?
Using Excel Tables
The easiest method is converting your data into a table.
Steps:
- Select your list
- Press Ctrl + T
- Click OK
- Use the table range in Data Validation
Now whenever you add new entries, the drop down menu updates automatically.
Editing and Removing Drop Down Lists
What if you need to update your options later?
No problem.
How to Edit a Drop Down List
- Select the drop down cell
- Go to Data Validation
- Modify the Source section
- Click OK
How to Remove a Drop Down List
- Select the cell
- Open Data Validation
- Click “Clear All”
- Press OK
The menu disappears instantly.
Common Errors and How to Fix Them
Even simple Excel tools can sometimes create confusion.
Here are common issues and solutions.
Drop Down Arrow Not Appearing
This usually happens when:
- Data Validation wasn’t applied correctly
- The worksheet is protected
Fix:
Check the Data Validation settings again.
List Not Updating
If new items don’t appear:
- Your range may not be dynamic
- The source cells may be incorrect
Fix:
Use tables or named ranges.
Blank Cells in the Menu
Blank rows inside the source range create empty menu options.
Fix:
Remove extra blank cells.
Error Message Appears
Excel may reject entries not included in the list.
Fix:
Adjust validation settings if you want custom input allowed.
Tips to Make Excel Lists More Effective
Creating a list is easy. Creating a smart list is even better.
Keep Options Short
Long text can make menus difficult to read.
Sort Items Alphabetically
This helps users find values quickly.
Avoid Duplicate Entries
Duplicates create confusion.
Use Color Coding
You can apply conditional formatting to visually highlight selections.
Protect Important Cells
Prevent accidental changes by locking sheets.
Real-Life Uses of Excel Drop Down Menus
Drop down lists are useful almost everywhere.
Office Management
Track employee status, departments, or attendance.
School Projects
Create grading systems and attendance records.
Business Inventory
Select product categories and stock levels.
Budget Planning
Choose expense types or payment methods.
Customer Databases
Standardize customer information.
It’s amazing how one small feature can improve workflow so dramatically.
Advanced Features You Should Try
Once you master the basics, Excel becomes even more powerful.
Dependent Drop Down Lists
A second menu changes based on the first selection.
Example:
- First List: Country
- Second List: Cities
Selecting “USA” shows American cities only.
Searchable Drop Downs
Modern Excel versions allow searchable lists using formulas and filters.
Conditional Formatting with Lists
Highlight rows automatically based on selected values.
For example:
- Green for Approved
- Yellow for Pending
- Red for Rejected
This makes spreadsheets visually attractive and easier to understand.
Best Practices for Clean Spreadsheets
A messy spreadsheet is like a cluttered room. You waste time looking for things.
Here’s how to stay organized:
Use Separate Sheets for Data
Store list values away from the main workspace.
Label Everything Clearly
Clear labels help users understand the spreadsheet instantly.
Test Before Sharing
Always check whether menus work properly.
Keep Backup Copies
Mistakes happen. Backups save stress.
Update Lists Regularly
Outdated menus reduce accuracy.
Conclusion
Learning how to create drop down list in Excel is one of the smartest skills you can add to your productivity toolbox. It’s simple, practical, and incredibly effective for keeping spreadsheets organized.
From reducing typing errors to saving time and improving teamwork, drop down lists make data entry smoother and more professional. Whether you’re managing office records, student data, budgets, or inventory, this feature can completely transform how you work in Excel.
The best part? You don’t need to be an Excel expert to use it. With just a few clicks, you can build smarter spreadsheets that are easier to manage and understand.
So why not try creating your first drop down list today? Once you start using them, you’ll probably wonder how you ever managed without them.
FAQs
1. How do I create a drop down list in Excel quickly?
Go to the Data tab, select Data Validation, choose List, enter your options, and click OK.
2. Can I create multiple drop down lists in Excel?
Yes, you can apply drop down menus to multiple cells or entire columns at once.
3. Why is my Excel drop down list not working?
This usually happens because of incorrect Data Validation settings or invalid source ranges.
4. Can I make a searchable drop down list in Excel?
Yes, newer versions of Excel support searchable features using formulas and dynamic arrays.
5. How do I copy a drop down list to other cells?
Simply copy the original cell and paste it into other cells. The validation settings will copy as well.
